Wilcity provides to you lots of shortcodes that help you not only to build a great home page but also Taxonomy page.
In this tutorial, We will setup Listing Location page, You can do the same with Listing Category page.
Step 1: Setting up Custom Taxonomy page
- Click on Pages -> Add New -> Create a new page and set this page to Wilcity Taxonomy Template
- Go to Appearance -> Theme Options -> Customize Taxonomies
- Set Listing Taxonomy Page Style to I create it myself mode
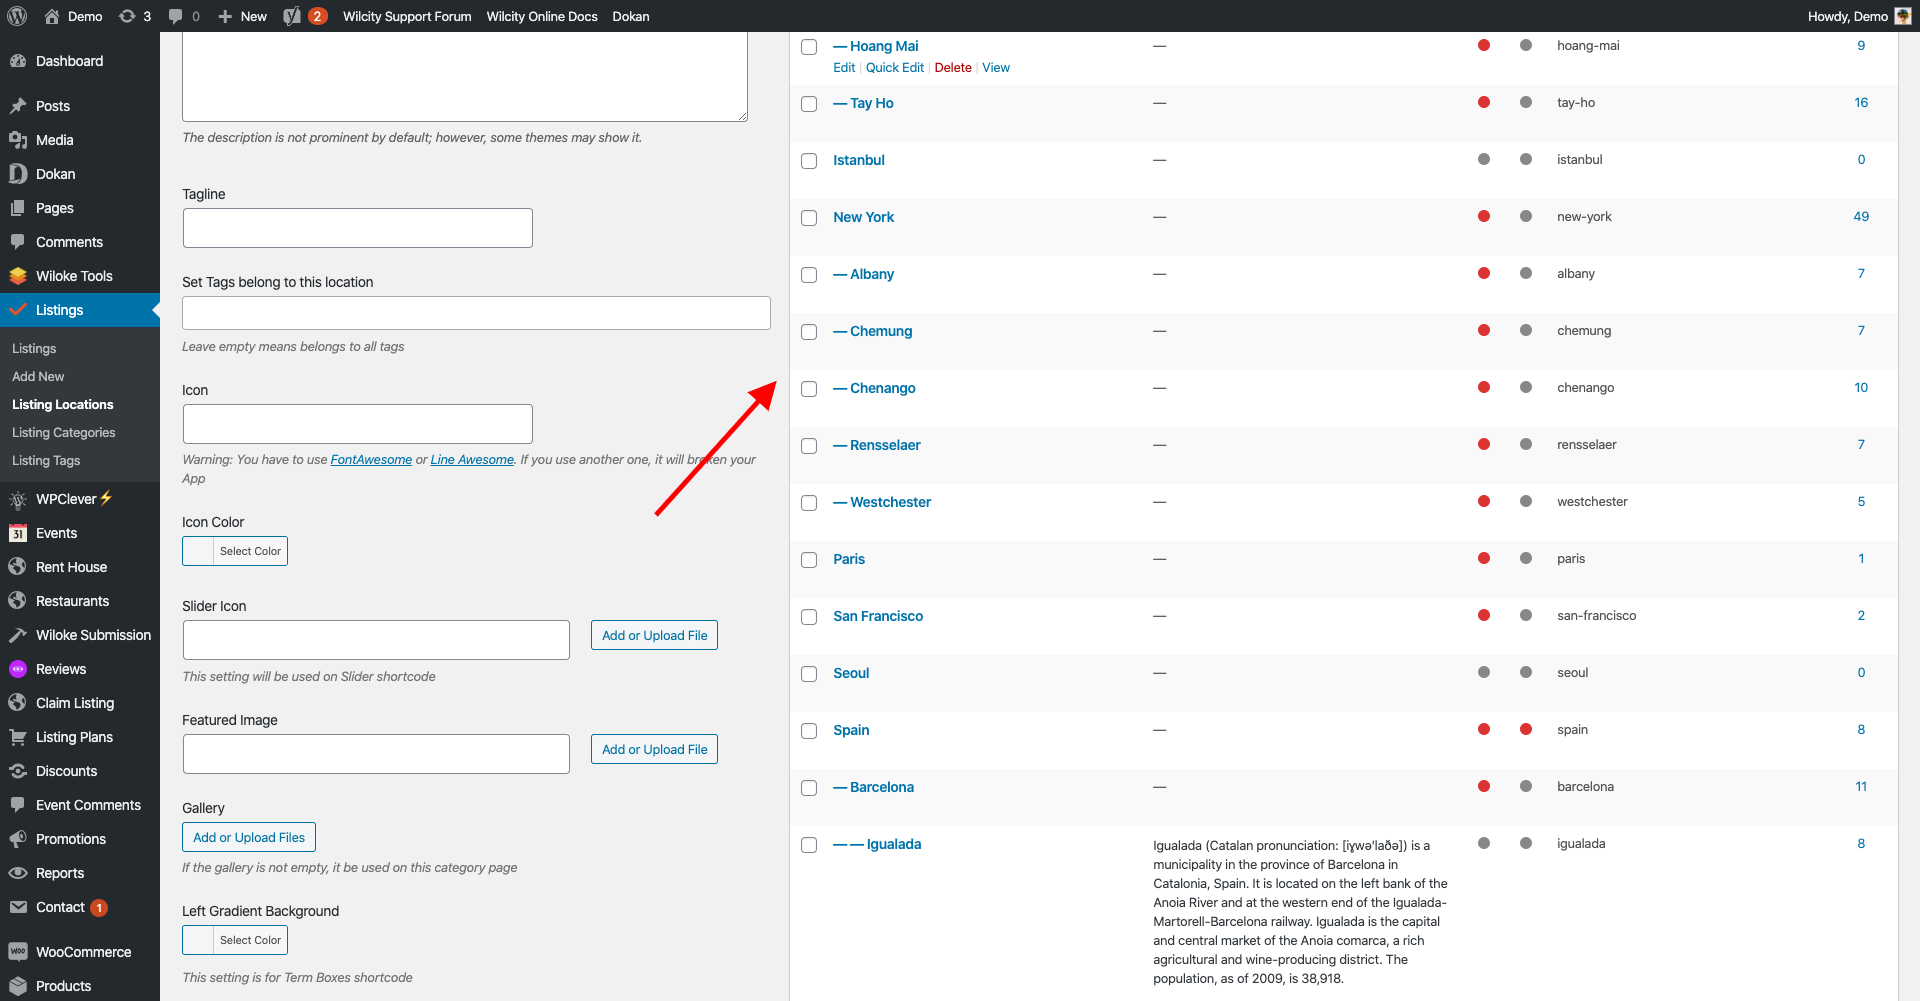
- Set the page that created at step 1 to Listing Location
To know more about Custom Taxonomy page, please read https://documentation.wilcity.com/knowledgebase/customizing-listing-location-listing-category-page/
Step 2: Building Custom Taxonomy page with Wilcity Shortcodes
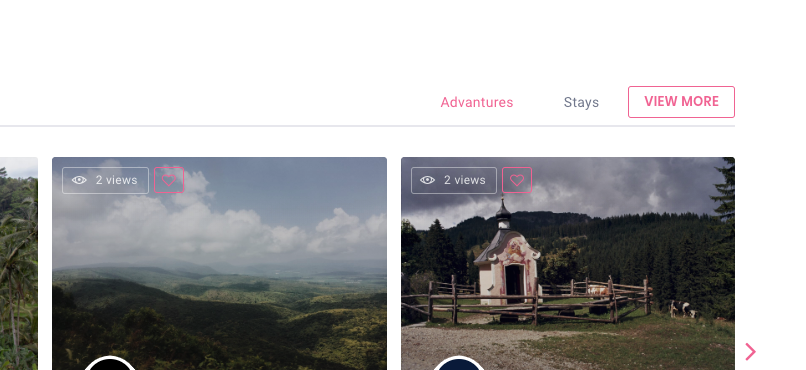
Wilcity New Grid shortcode
Since Wilcity 1.2.0, Wilcity New Grid was added. This shortcode works like Wilcity Listings Tabs, but it does not have Tabs Filter.
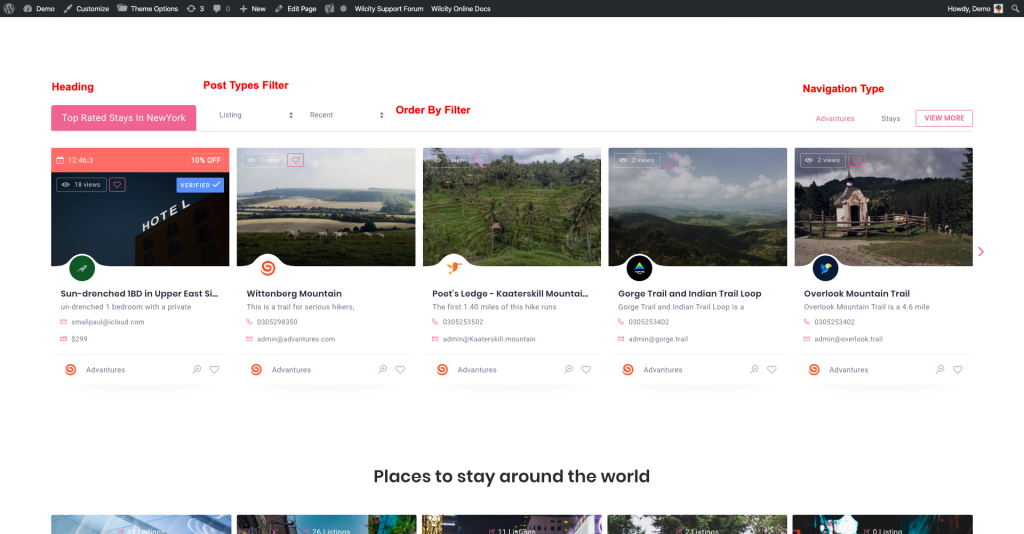
Let’s have a look at its settings:


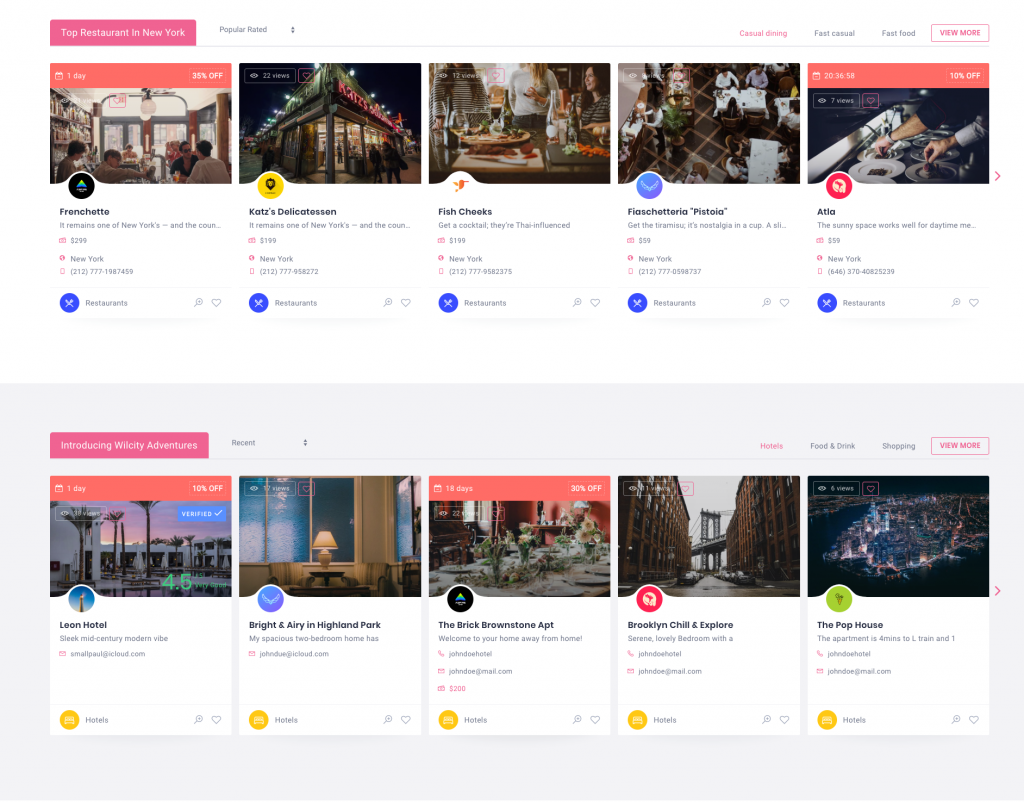
Heading: If you want to use a dynamic Heading, You can put %termName% in it. In the above example, when visiting Hanoi Location, the Heading is Food experiences in Hanoi and when visiting New York, it’s Food experiences in New York.
Description: You can use %termName% in the description as well
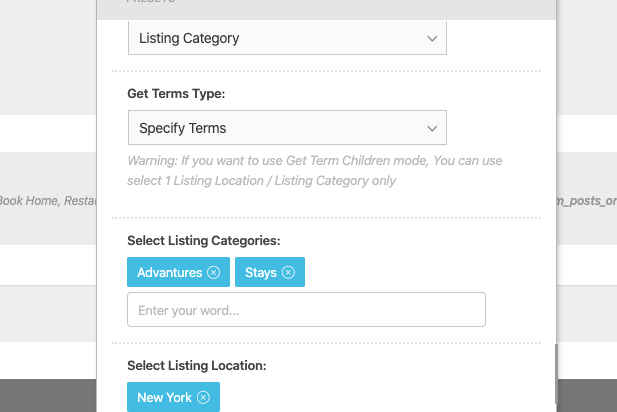
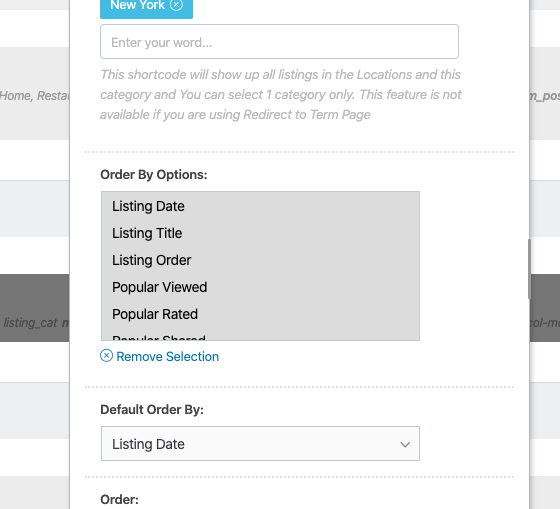
Taxonomy Type: We have setting up Listing Location, so We SHOULD NOT set Taxonomy type to Listing Location type.
Select Listing Location: We SHOULD leave it empty. When the field is empty, the current Listing Location is filled up.
So, when visiting Hanoi Location, the shortcode will display all listings that belong to Listing Categories that were specified in the shortcode and Hanoi Location.


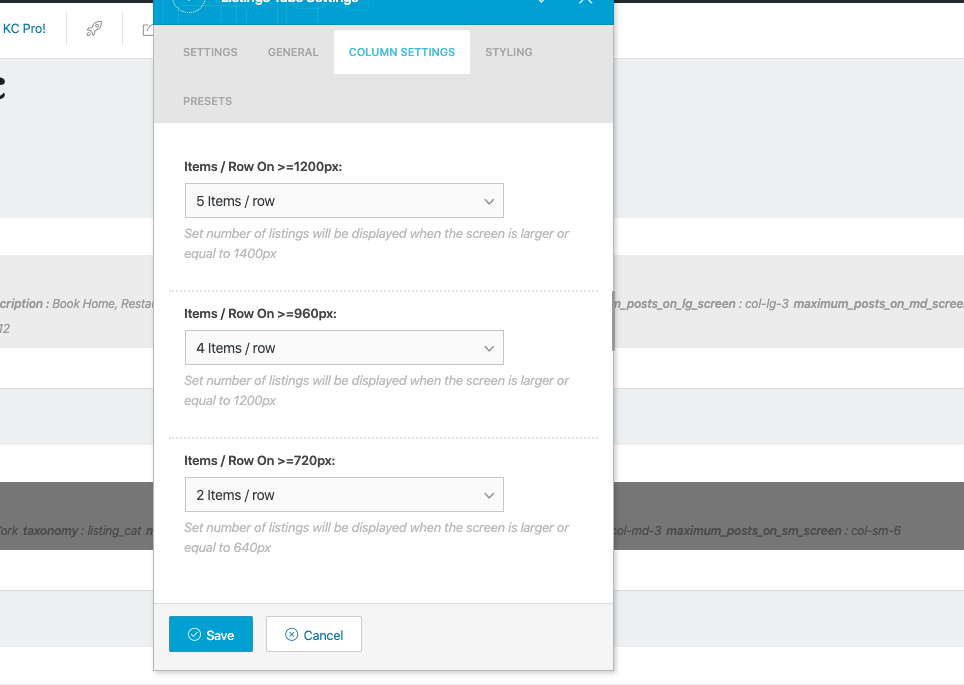
Maximum Items: We recommend leaving it empty. When leaving this setting empty, the number of items is matched Items / Device setting
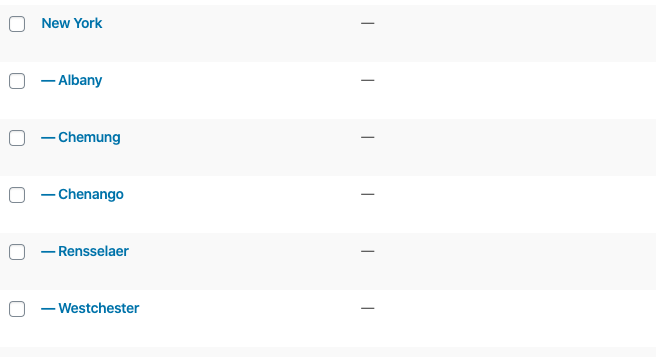
Terms Group shortcodes
To understand how Terms Group work, pleas read Understanding how Terms Group shortcodes
When using this group shortcodes in a Term page, We recommend paying to Taxonomy Type setting:
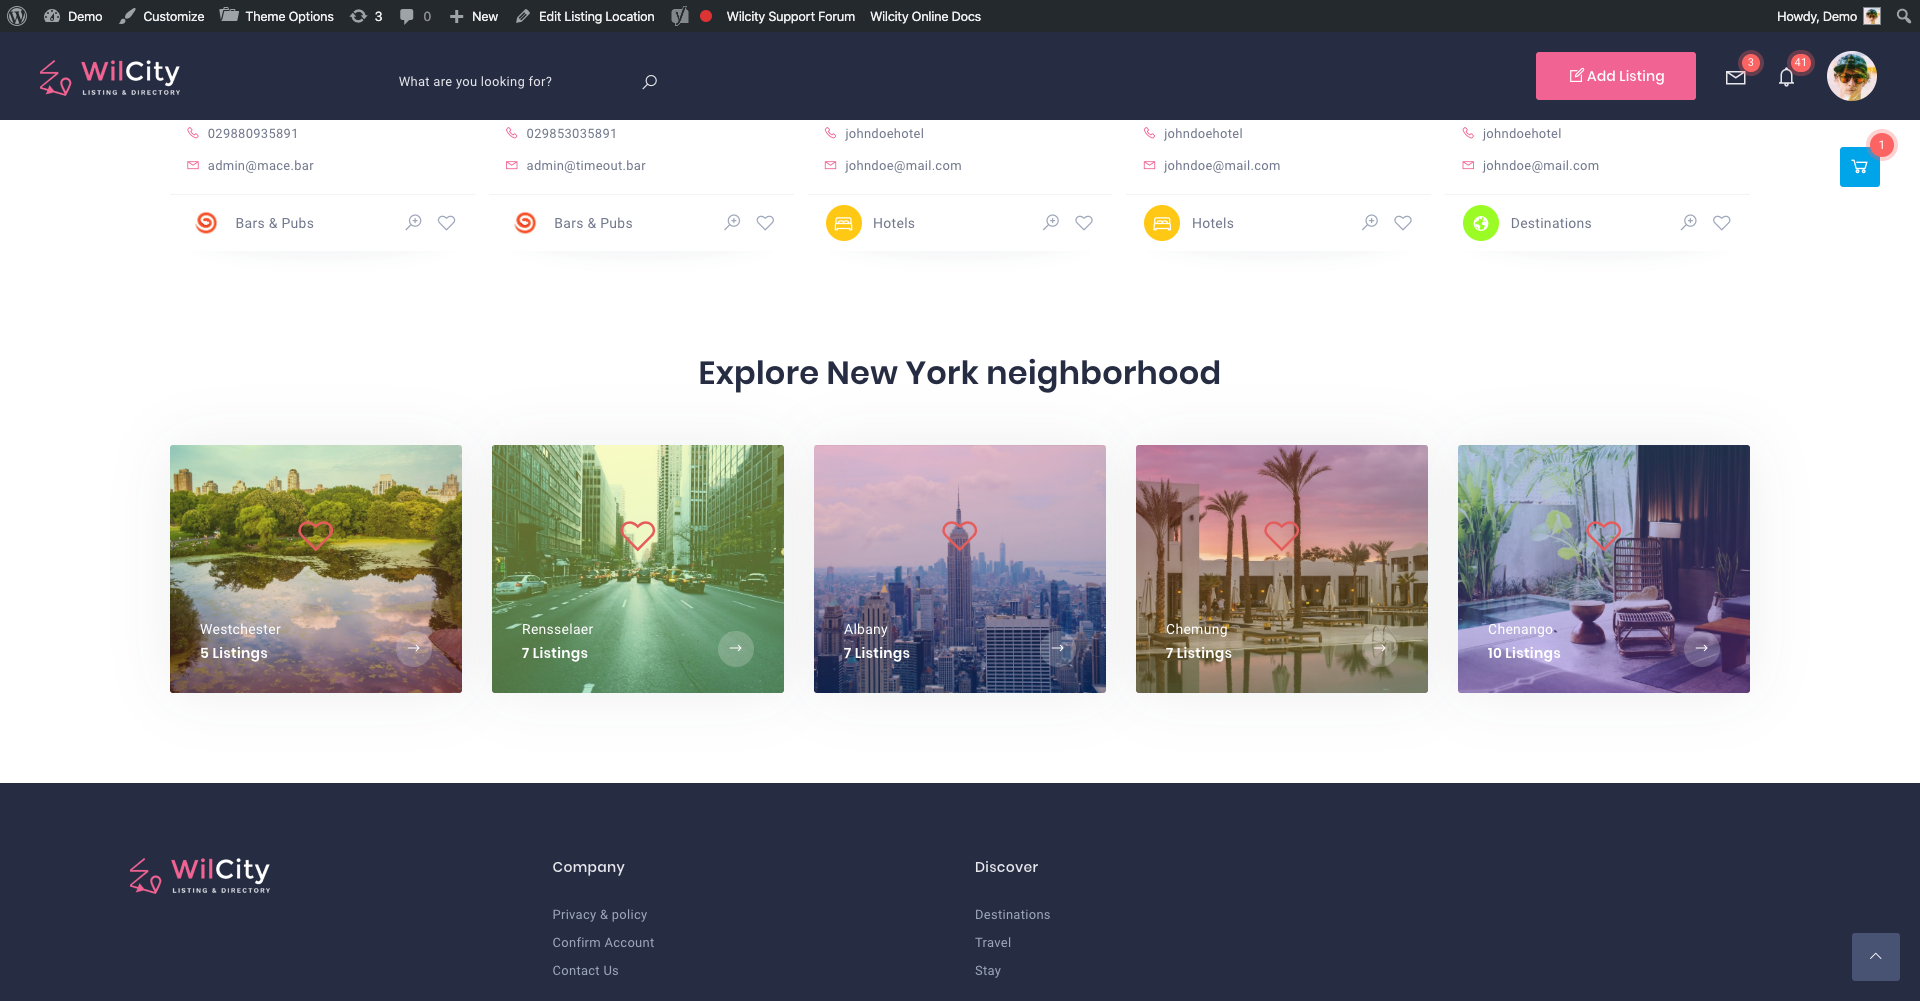
If you set Taxonomy Type to Listing Location, You should leave Select Listing Locations empty. The Children of Listing Locations will be filled up automatically.


If you set Taxonomy Type to Listing Category, You should Selection Listing Location empty and specify Categories that you want to use to Select Listing Categories setting.
The Listing Location is became a Dynamic Location, which means Wilcity will automatically filled up Current Location to this field.


The above example, when clicking on Shopping -> Browser will redirect to Search Page -> and the Search page will show up Listings that belong to Shopping category in New York city.