This tutorial, We will show you how to add a custom button shortcode to Wilcity and How can We use it in Group Custom Field
Creating Wilcity Custom Button shortcode
Step 1: Activating Wilcity Child Theme.
To create a shortcode or add custom code to the Wilcity, We highly recommend using the Wilcity Child Theme instead of the Wilcity Theme. Please read https://documentation.wilcity.com/knowledgebase/how-can-i-setup-wilcity-child-theme/ to know how can you set up it.
Step 2: Adding Wilcity Custom button to functions.php
Under the Wilcity Child Theme, you will see functions.php file. Now, please open this file with an editor like Sublime text, NotePad++
Now, put the following code to this file, it should under <?php syntax
add_shortcode('wilcity_custom_button', 'wilcityCustomButton');
if (!function_exists('wilcityCustomButton')) {
    function wilcityCustomButton($aAtts, $btnName)
    {
        $aAtts = shortcode_atts(
          [
            'target'        => 'self',
            'link'          => '#',
            'meta_key'      => '',
            'name'          => '',
            'size'          => 'wil-btn--sm',
            'variation'     => 'wil-btn--primary2',
            'icon'          => '',
            'extra_classes' => 'wil-btn--round',
            'id'            => uniqid('custom_button_')
          ],
          $aAtts
        );

        $btnName = empty($buttonName) ? $aAtts['name'] : $buttonName;

        if (empty($btnName)) {
            return '';
        }

        if (empty($aAtts['link']) && !empty($aAtts['meta_key'])) {
            global $post;
            $aAtts['link'] = WilokeListingTools\Framework\Helpers\GetSettings::getPostMeta(
              $post->ID, 'custom_'.$aAtts['meta_key']
            );
        }

        if (empty($aAtts['link'])) {
            return '';
        }

        $classes = 'wil-btn wil-custom-btn wil-btn--round wil-btn '.$aAtts['classes'].' '.$aAtts['variation'].' '
                   .$aAtts['size'];
        ob_start();
        ?>
        <a id="<?php echo esc_attr($aAtts['id']); ?>" class="<?php echo esc_attr($classes); ?>"
           href="<?php echo esc_url($aAtts['link']) ?>" target="<?php echo esc_attr($aAtts['target']); ?>">
            <?php if (!empty($aAtts['icon'])) : ?>
                <i class="<?php echo esc_attr($aAtts['icon']); ?>"></i>
            <?php endif; ?>
            <?php echo esc_html($btnName); ?>
        </a>
        <?php
        $content = ob_get_contents();
        ob_end_clean();

        return $content;
    }
}
Embedding Wilcity Custom Shortcode to Wilcity Group
Step 1: Now, please click on Wiloke Tools -> [Your Directory Type] Settings -> Add New Directory Type -> Add Group to Used Fields area
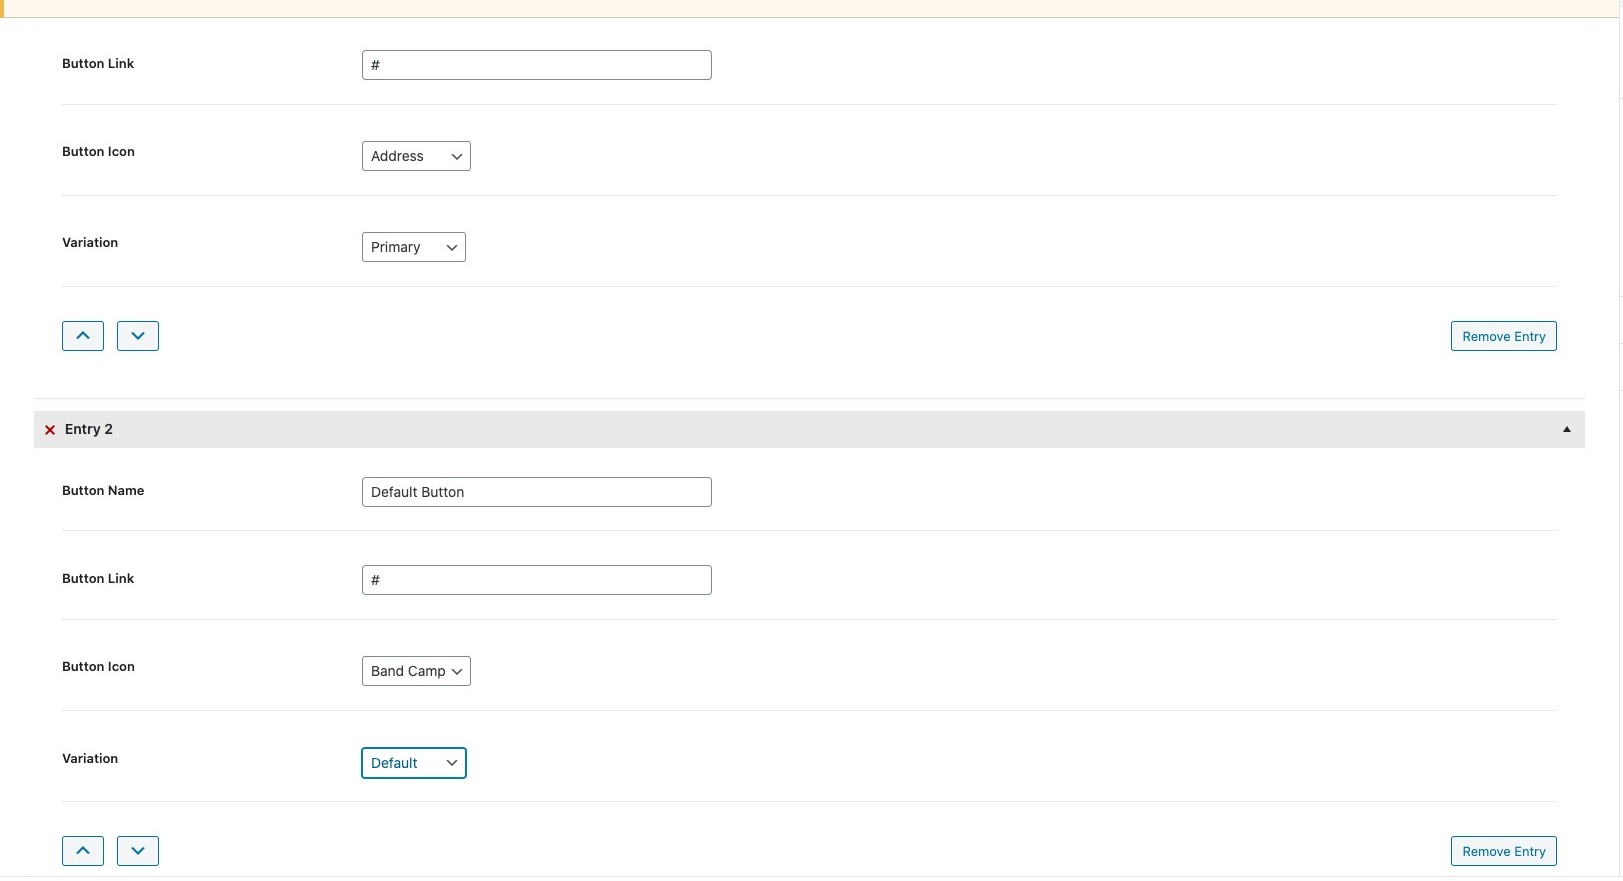
Step 2: Next, please setup your group looks the following image.
Note that you can add any key name you want

Step 3: Re-opening functions.php of the Child Theme and put the following code to this file
add_filter('wilcity_shortcode/focus-filter/wilcity_render_group_field/my_custom_button',
'wilcityCombineGroupAndCustomButton', 10, 4);
function wilcityCombineGroupAndCustomButton($html, $aSettings, $aGroupSettings, $aAtts)
{
if (!isset($aSettings['items']) || !is_array($aSettings['items'])) {
return '';
}

foreach ($aSettings['items'] as $aItem) {
if (empty($aItem['link']) || empty($aItem['name'])) {
continue;
}

$html .= do_shortcode('[wilcity_custom_button link="'.$aItem['link'].'" icon="'.$aItem['icon'].'" variation="'
.$aItem['variation'].'" extra_classes="mr-20"]'.$aItem['name'].'[/wilcity_custom_button]');
}

ob_start();
if (!empty($html)) {
?>
<?php if (!empty($aSettings['title'])) : ?>
<div class="col-md-12"><h4 class="<?php echo esc_attr(apply_filters('wilcity/filter/class-prefix',
'wilcity-group-properties-heading')); ?>"><?php echo esc_html($aSettings['title']); ?></h4></div>
<?php endif; ?>

<?php if (!empty($aSettings['description'])) : ?>
<div class="col-md-12"><p class="<?php echo esc_attr(apply_filters('wilcity/filter/class-prefix',
'wilcity-group-properties-desc')); ?>"><?php Wiloke::ksesHTML($aSettings['description']); ?></p></div>
<?php endif; ?>
<?php
}
$title = ob_get_contents();
ob_end_clean();

$html = '<div class="wilcity-'.esc_attr($aAtts['group_key']).'-wrapper">'.$title.
'<div class="wilcity-custom-button-group">'.$html.'</div></div>';

return $html;
}
Warning: wilcity_shortcode/focus-filter/wilcity_render_group_field/my_custom_button: my_custom_button is the key of group field.
Inserting Wilcity Custom Button to Single Navigation
Step 1: Navigating to Single Navigation -> Click Add New Custom Field
Step 2: Focusing your mouse on Key field -> You will see all your Custom Fields option -> Select Your Group
Step 3: Finally, click on Save Changes
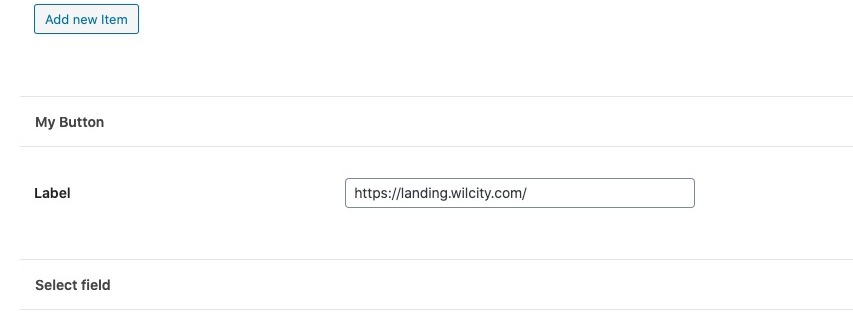
Now, You can go to Listings -> Your Listing -> Add some buttons:
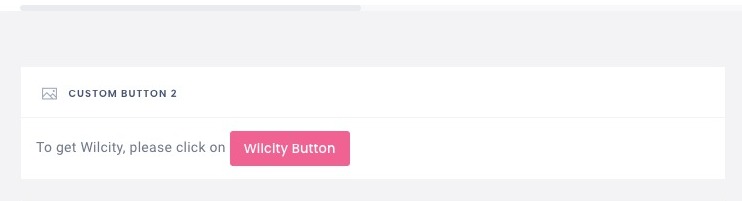
And you will get
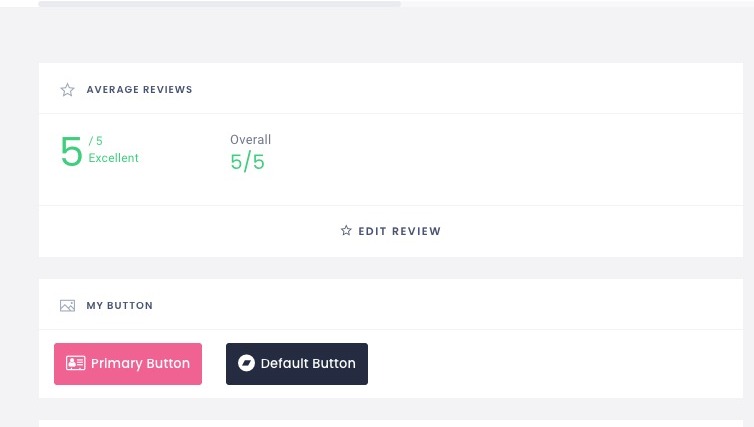
Embedding Wilcity Custom Button to Input Field
You can also combine Wilcity Custom Button with Input Field / Textarea Field as well.
Step 1: Back to Add Listing area -> Add a Input / Text area field -> Save Changes
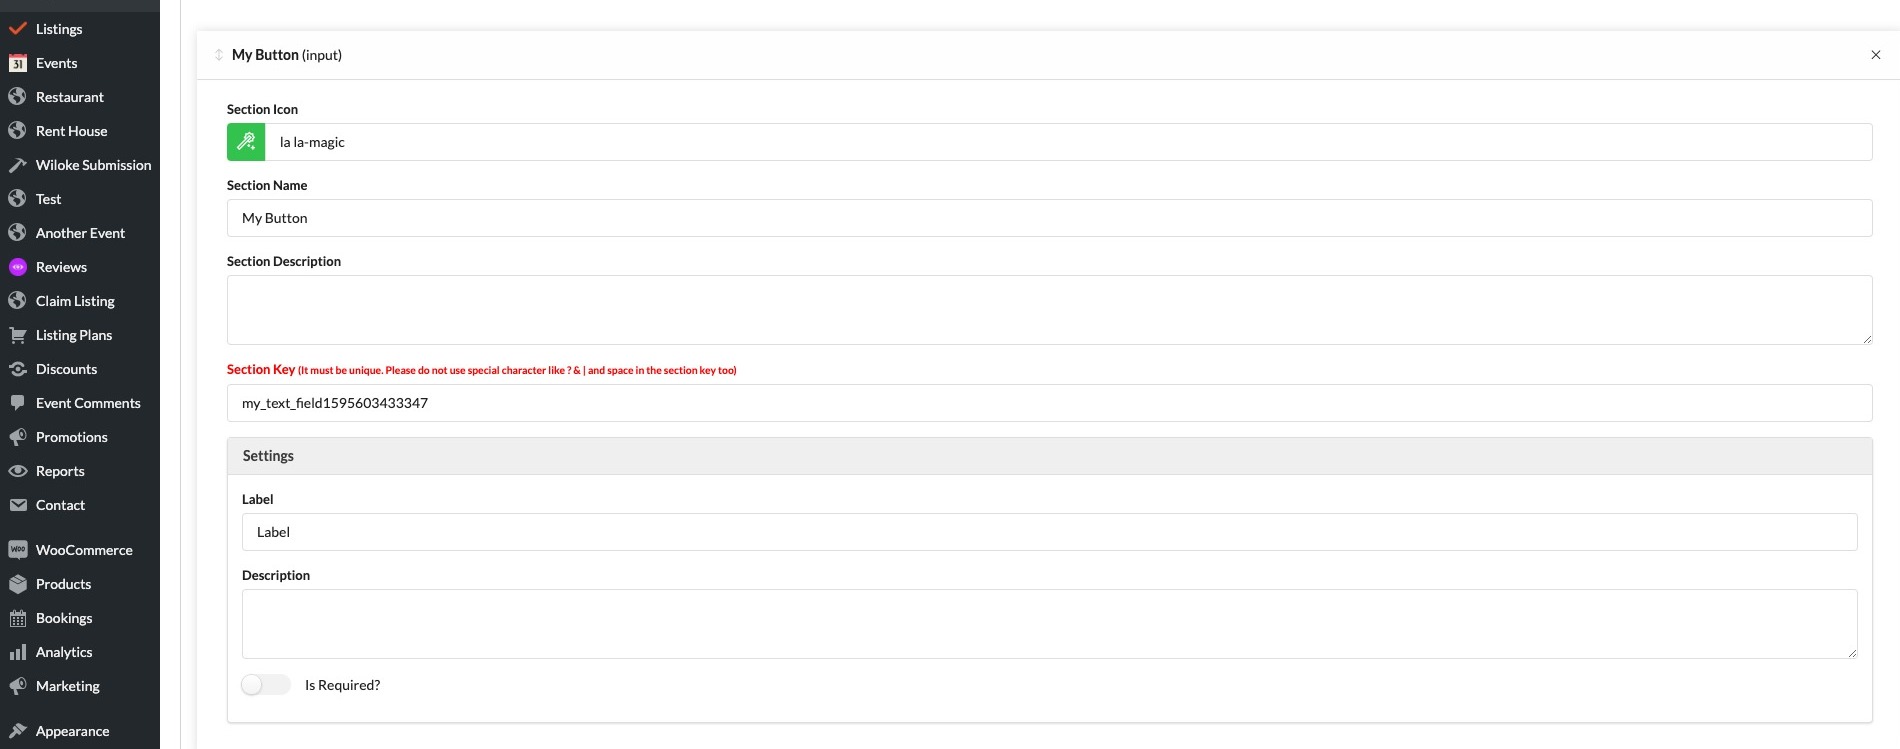
Step 2: Navigate to Single Navigation -> Click on Add New custom field
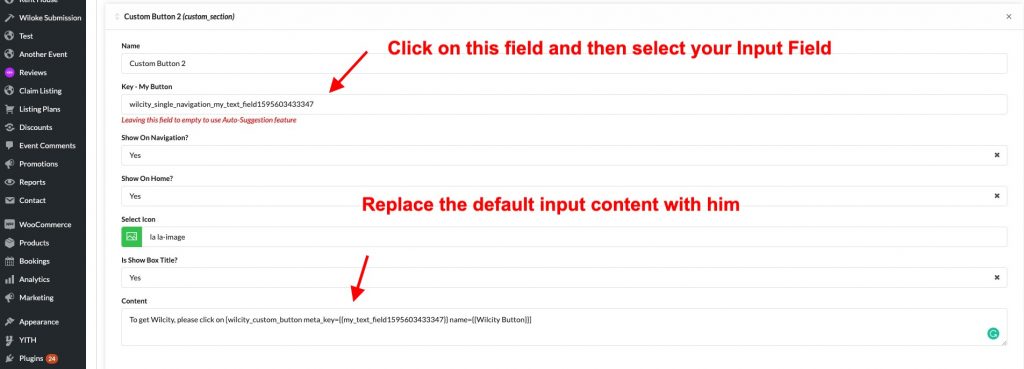
Now, you can go to Listings -> Your Listing -> Enter a link to your custom Input field
And you will see
Joining Wilcity Bundle Plugins to download all premium plugins for free